Today I am showing you how to edit a very simple photo taken in NYC. I did screen shots this time, in case anyone has photoshop and has NO idea where to begin 🙂
I am using Lightroom a lot more, but also love Bridge/Adobe Camera Raw (ACR) for basic photo adjustments.
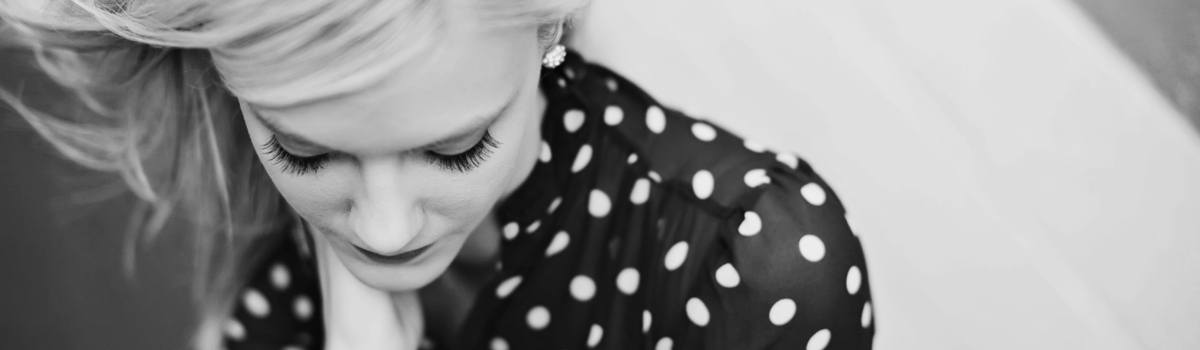
Here is the original:
 Opening in ACR I adjust: (mostly bumping them up slightly)
-Vibrance
-Contrast
-Exposure
-Recovery (slightly just to bring down the highlights)
-Fill light (to lighten the shadows)
-Clarity
-Shadows/Darks
 Then I open in Photoshop CS4. Start with cropping the image. Notice how I shot it on more of an angel, I want to straighten it up.
(This is something I do on a regular basis: shooting crooked 🙁 ) Next I adjust the levels (command+L)… my favorite way to create more light/contrast.
Some people only use the curves adjustment (command+m). I love levels, to me it’s less harsh lighting. Then I bumped up the saturation (command+u)
 Then I duplicate the layer (command+J) and set it on a soft light layer at a lower opacity. Then I add a Layer Mask (looks like a square with a circle in it at the bottom of your layers palette)
I do this because I think the soft light looks too harsh on the dark areas and will paint it (with a soft black brush) off of the layer. See where the arrow is pointing? That is where I essentially erased the layer I had added. By doing so I balanced the photo for my eye’s liking 🙂
Then FLATTEN (I created it as a shortcut: command+x) Then using the burn tool I burn the edges, slightly, to equal out all of the shadows. Keep the burn tool on a LOW (20% or lower) opacity. You can always add more, but don’t overdo it. 🙂
(if you think it’s a little strong, but want to fade it a bit you can go into: Edit>Fade Burn Tool (only just after burning))
 I then play TRA’s “Poor Party” Action and adjusted it to my liking (brought down opacity to about 33%)
(by the way The Pioneer Woman has this action for FREE: Seventies)
Then I have a finishing action which combines my boost (extra levels, saturation, smart sharpening) along with TRA’s Smooth-O-Matic.
I use this on almost all my images (along with a websizing action that is very similar)
See my “history” to duplicate:
 Here is the before and after, nothing drastic, but a nice pop.
By the way where is this place where NO Ps are allowed???
My life would be dull without my Ps!
 What do you think?
Animated for ya? Before… After… Before… After!


 A sweet tiny grin.


 Special accessories went perfectly with the vintage luggage. Reminds me of an old timey baseball locker. 🙂


 What a darling!

 Woke up at the end of the session. I think he was saying, “Arden, I’m done with this posing stuff!”
 The beautiful new family of three:
 I love their LOVE!
 One of my favorites:
 What a special moment:


 I don’t think this poor baby ever stopped sweating, during the entire trip. It was quite hot and muggy.
 He loves to be in charge, pushed her most of the day.
 I love this!
 We were able to meet our newest Cuban addition: Ana Cristina! Parx LOVED her 🙂 Check out the videos
 She is so so beautiful and dainty.
 My husband and I had a lovely night on the town at the Azucar Ball – co-founded by his Aunt and Uncle!
 The dress is from my Mother in Law’s
  We were also able to hang out on his dad’s ‘farm’ and ride a souped up golf cart, enjoy wild creatures, and eat yummy food!
by Arden Prucha
show hide 2 comments