I mentioned through my FB page that I shot nearly an ENTIRE Newborn Session on the couple’s front porch. The light was much better than inside, but there were a lot of shadows that I had to be very mindful of while photographing.
I purchased this pouch from Etsy here! Laura has been so great to me – thanks for the great customer service! 🙂
This is my first time using one of these props and I had only received it two days before my session, so I knew it wouldn’t be pro-perfect yet.
I had dad help me A LOT on this session (Mom smells too much like food to handle that sweet and sleeping baby).
You can see I placed a black board behind Baby Bruce.
I then had Jim hold his son VERY CAREFULLY with both hands.
One Hand: Underneath the sack supporting baby
The Other Hand: holding up the sack so that it appears to be hanging.
Here is the Original or Straight Out Of the Camera (SOOC):
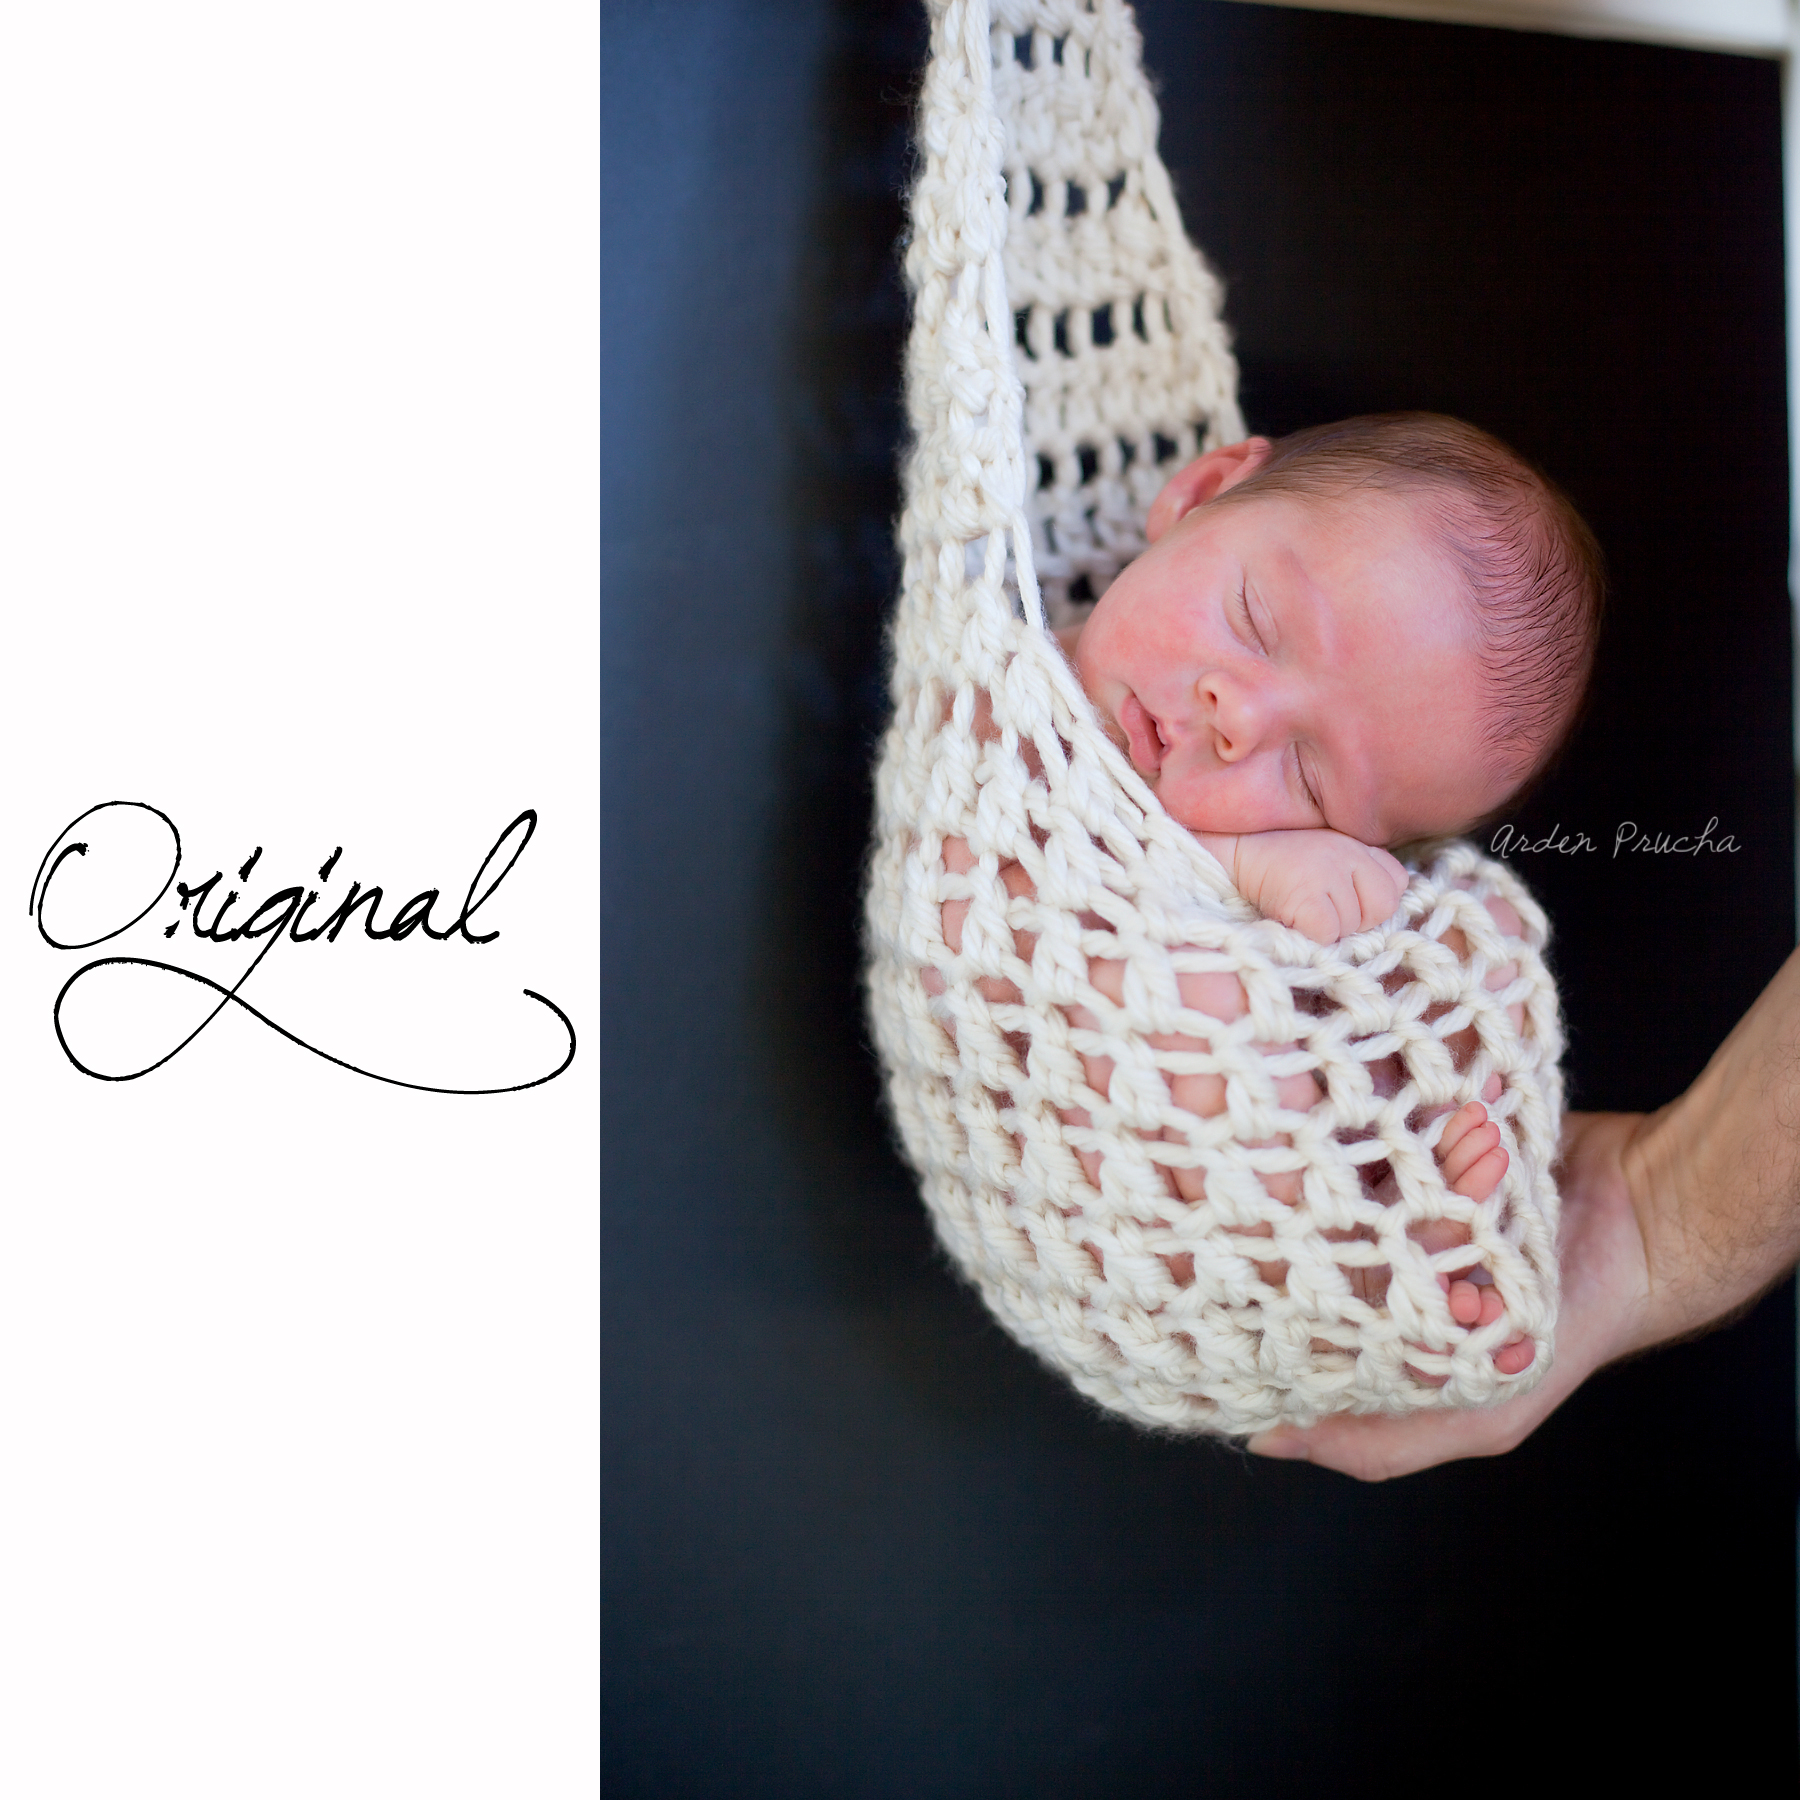
Let ME tell you what is noticeably wrong with this photo: the background isn’t the same color, it is shadowed, and it ends on the right, the hand of Dad is unwanted (but necessary), and the baby is a little more red that I would like.
For editing here are some steps I took:
- First some basic adjustments in Adobe Camera Raw (ACR) – exposure, bumped up the dark, darkened the shadows, and de-saturated the red hues.
- In Photoshop (CS4): Using the Magnetic Lasso Tool I created a patch around the bottom of the sack where the hand is all of the way to the lower right corner.
- I then cloned out the hand and made sure all of the background was a consistent black.
- I painted all of the areas outside of the sack with the paint tool matching the cloned area.
- Now, this is a difficult process because the black painting was bleeding into the sack and baby a little bit. I used my history brush to return those edges as they were prior to painting.
- Using the burn tool I darkened all of the edges to match the painted background.
- Using Totally Rad Actions: Select O Pop and Select O Sharp on the sack for some sharpness.
- I then used Smooth-O-Matic to create a nice soft image, but I added a layer mask and took ‘smooth-o-matic’ off of the sack (using a soft black brush) so that it was still nice and textured.
- Converted to BW and added a soft light layer for an additional POP.
(Some people are against actions, they assist me in my final product. I am happy to use helpful tools, but I still have a knowledge of what I am doing!)
Voila: 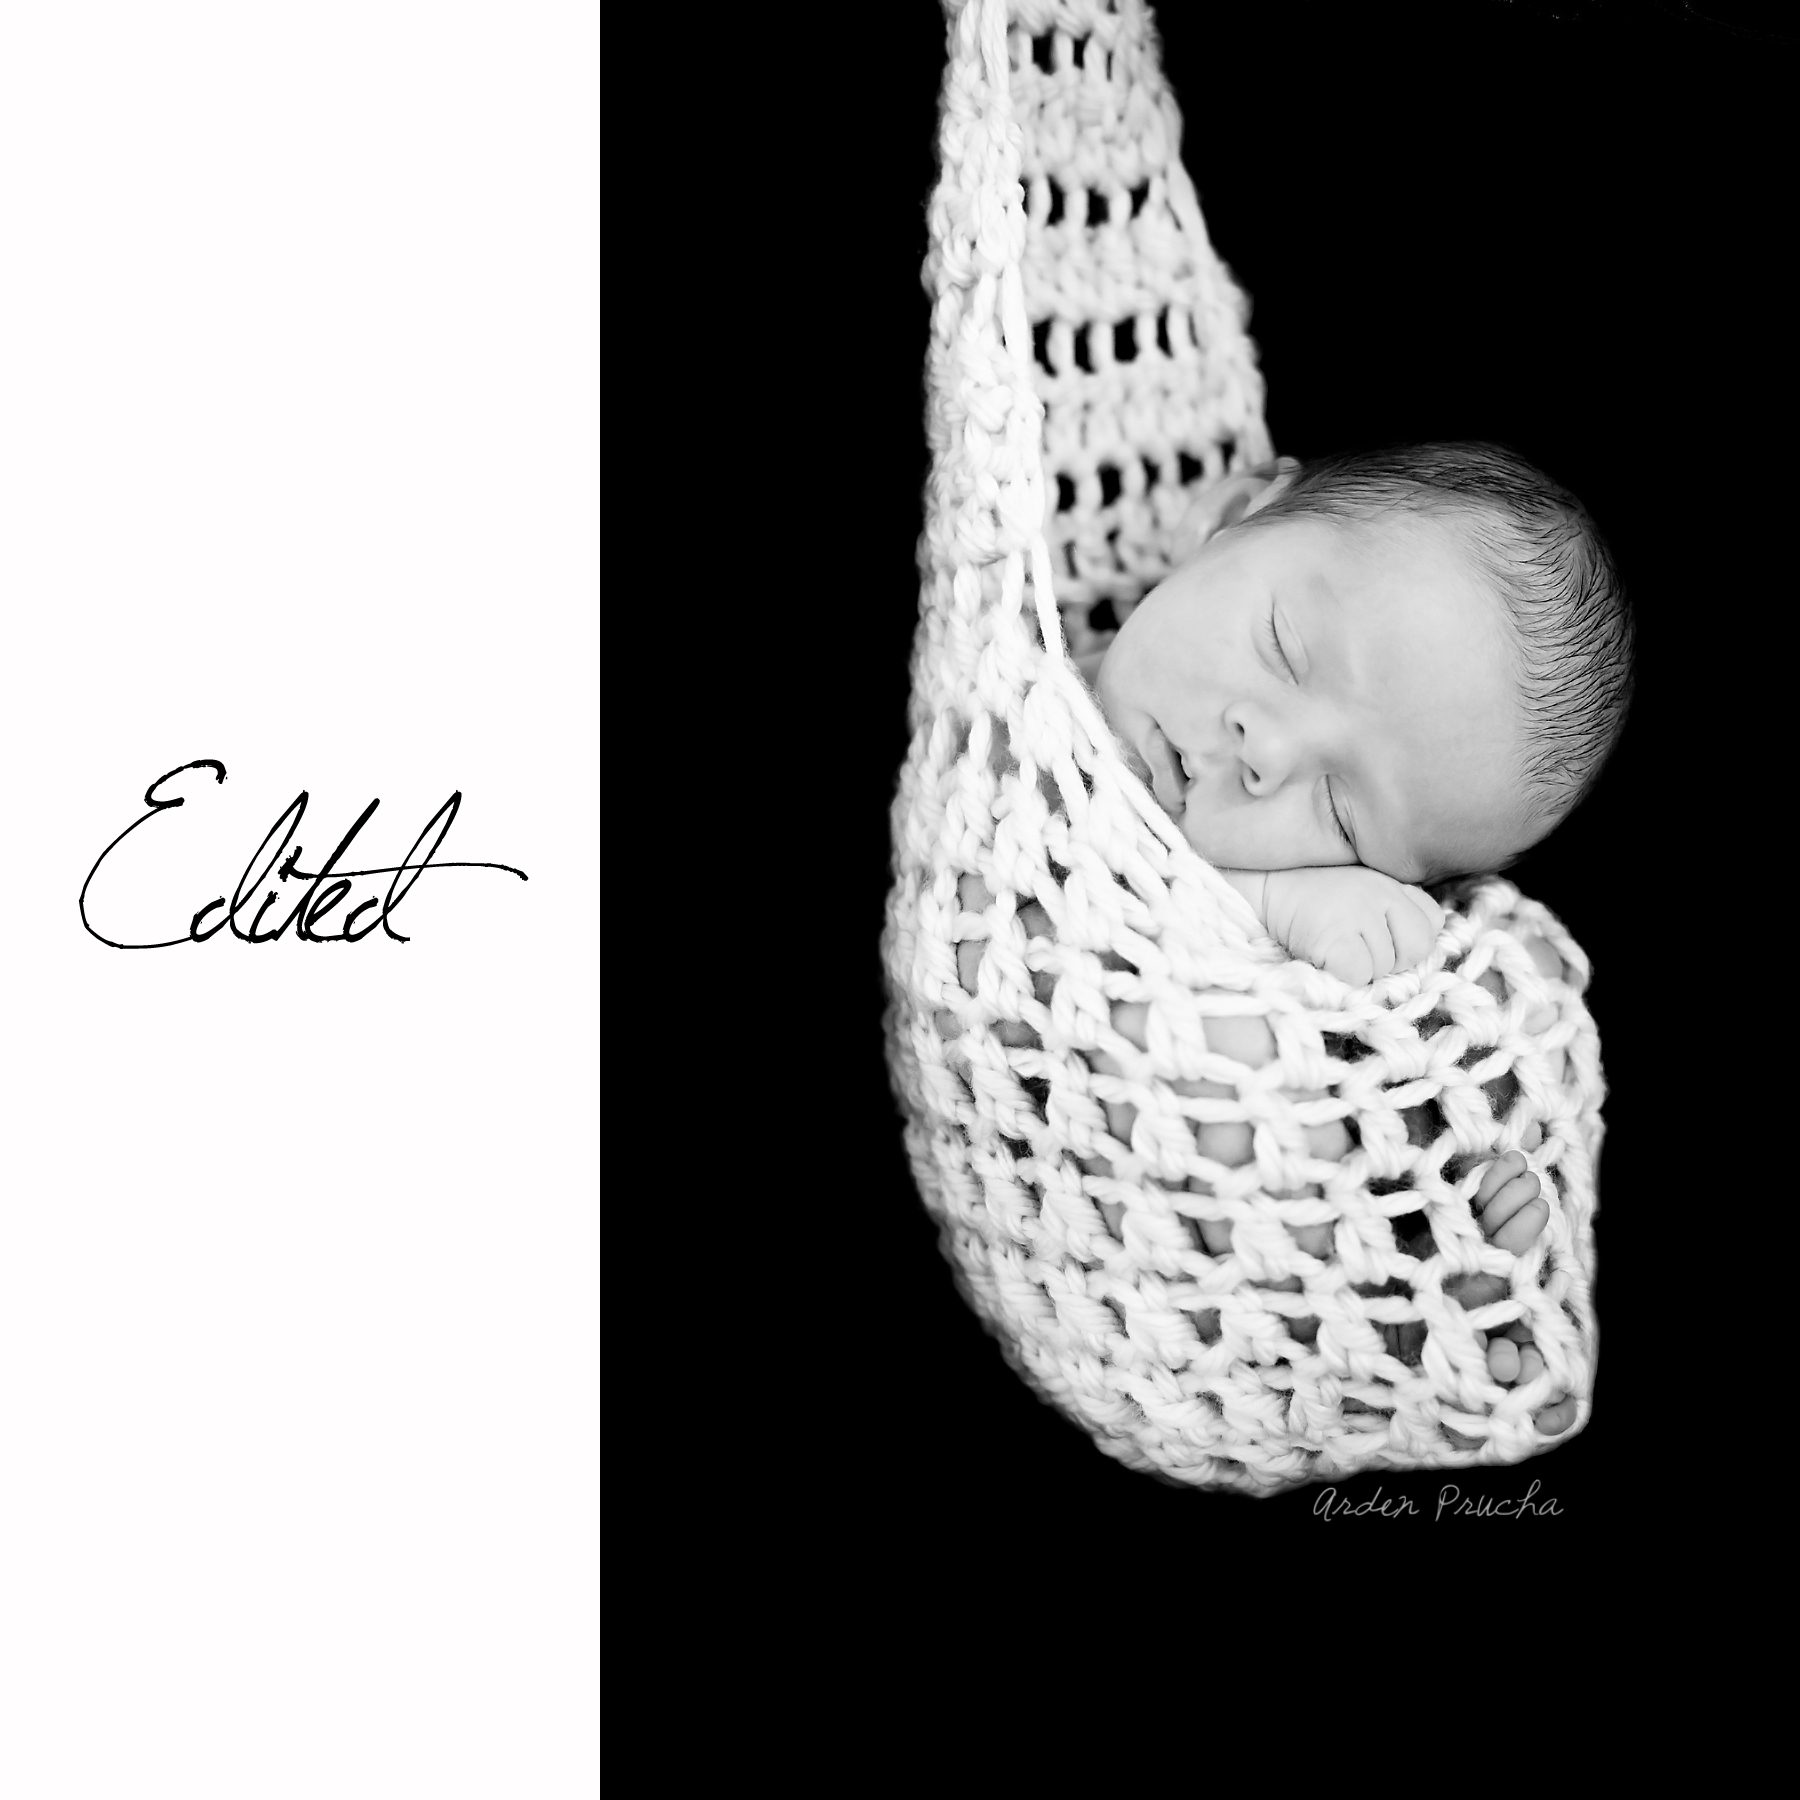
Side by Side:
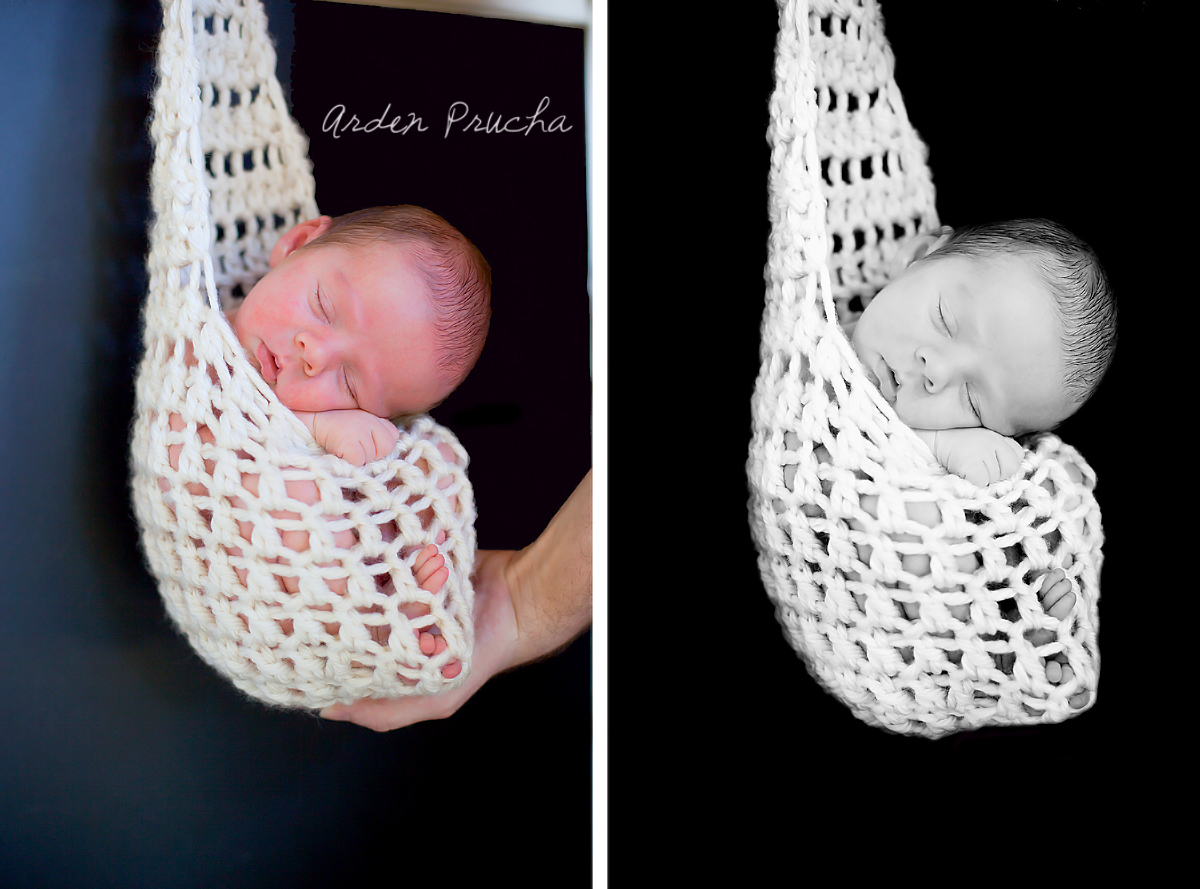
Then I thought – I want the baby to be smaller with more black space!
So, I:
- created a NEW File (18″x12″)
- cropped the photo above (8″x12″)
- dragged the image into the new file
- then using the paint tool matched the exposed sides with the images black background
- flattened the image and…
TADA:
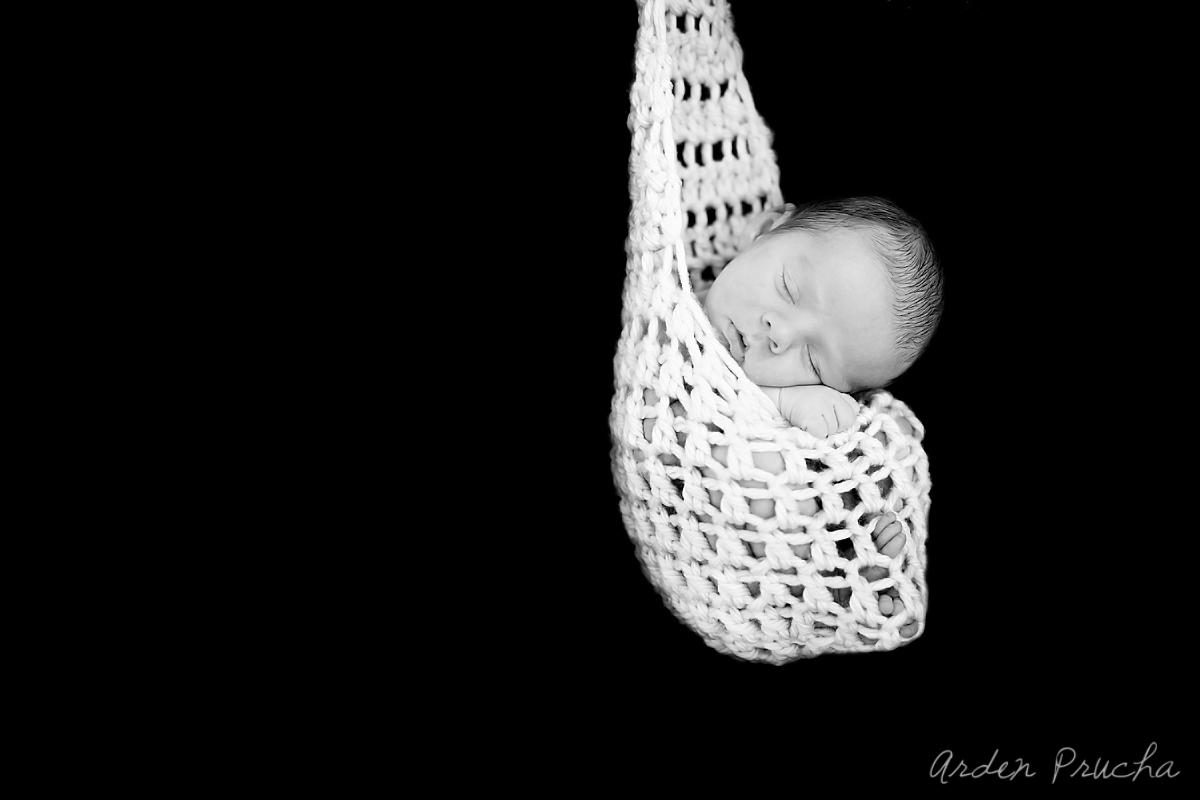 (which one do you prefer?)
 Overflowing? Goodness gracious! (Are you looking at my groceries? Go for it, Reese’s Puffs are delicious!)






 (which one do you prefer?)
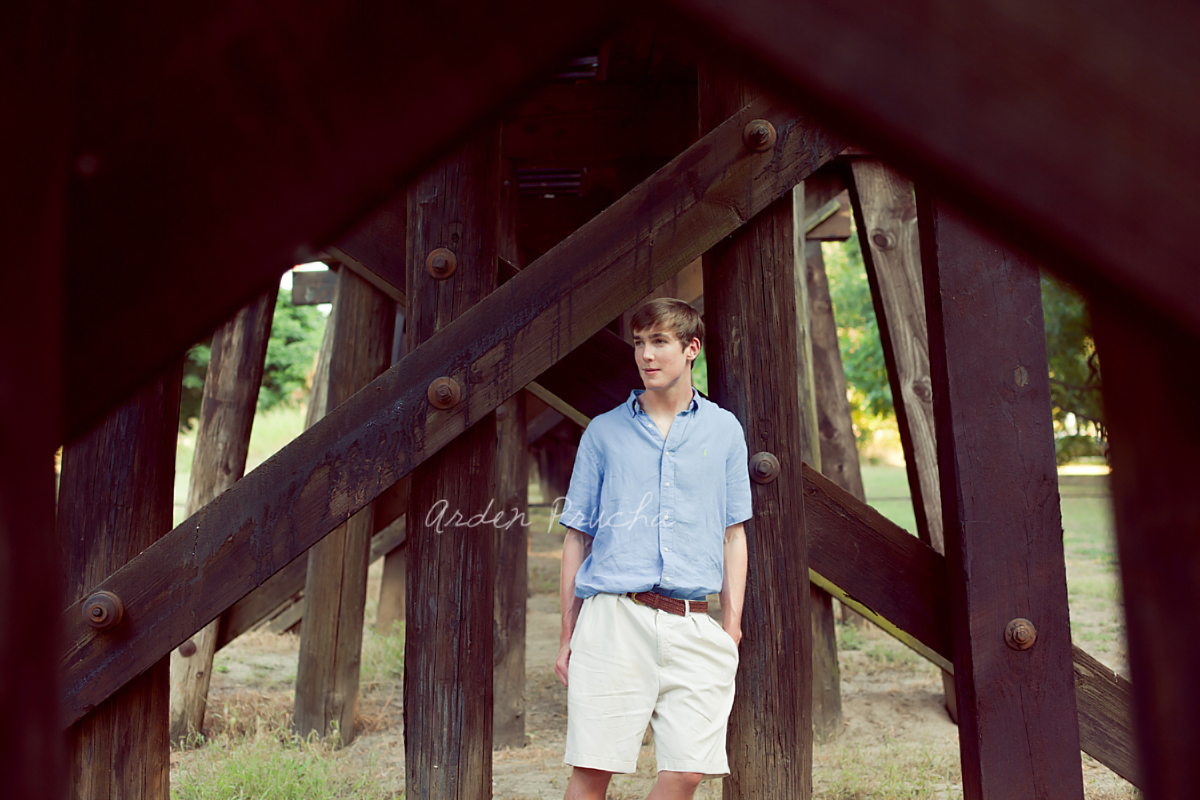
 GQ? Yes!

by Arden Prucha
show hide 1 comment